



Info: Please note: This article describes how to install WordPress the traditional way, without AI assistant. Depending on your web hosting plan, however, you may also have the option to install WordPress with AI assistant. The steps for doing so are described in the article “How do I create a website with the AI website assistant for WordPress?”
To install WordPress on your web hosting, follow these steps:
- Log in to the Hostpoint Control Panel with your Hostpoint ID.
- Open your web hosting.
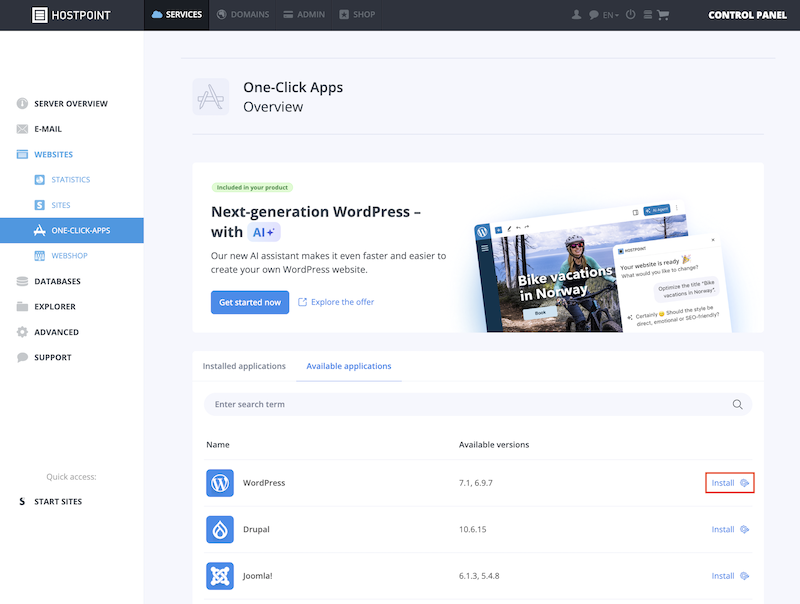
- Click on “Websites” in the menu and then on “One-click apps” below.
- Switch to the “Available applications” tab and click on “Install” for WordPress.
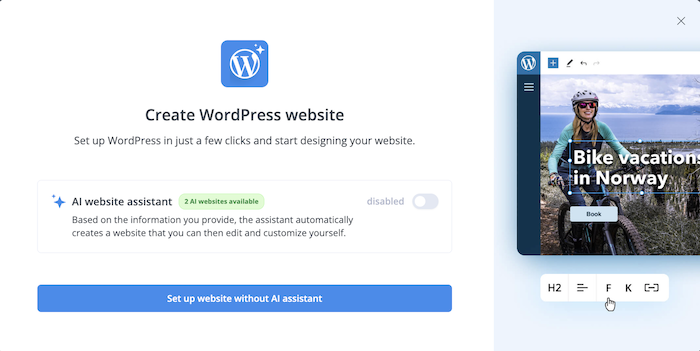
- Leave the “AI website assistant” option unchecked and click “Set up website without AI assistant”.
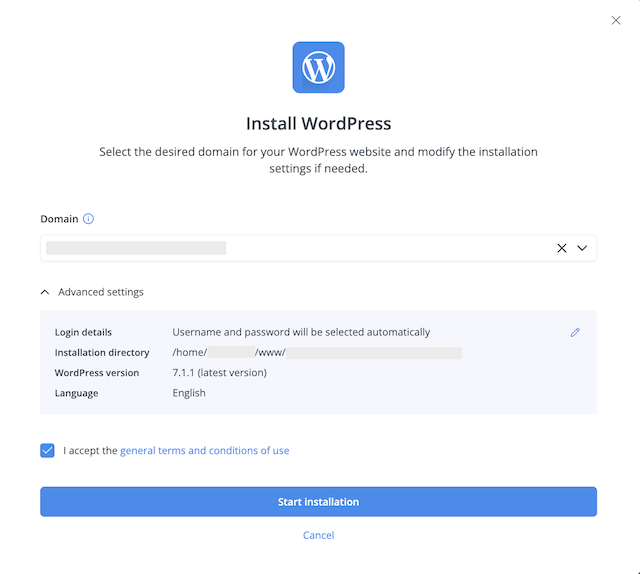
- Select the domain under which the website should be accessible.
- Check the advanced settings for the installation and adjust them if necessary.
- Login details: Username and password for logging into WordPress. You can either set the login details automatically or choose them yourself.
- Installation directory: WordPress will be installed in this directory, and all files for your website will be stored here.
- WordPress version: Select the version of WordPress that you want to install on your hosting server.
- Language: Select the language in which WordPress will be installed. It can be changed later at any time.
- Accept the general terms and conditions of use and click on “Start installation”.
→ WordPress will now be installed on your hosting server. - If you have generated the login details automatically, they will be displayed after installation for one time only. Save your login details in a secure place.
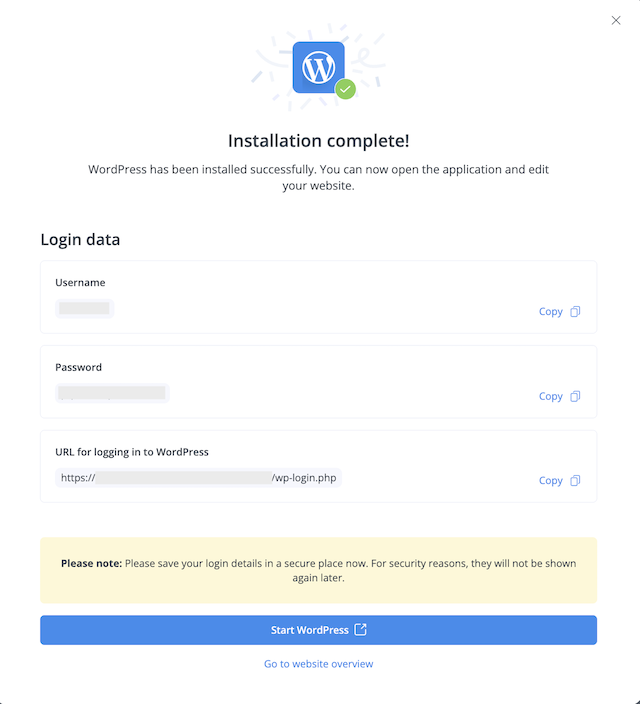
→ WordPress has been installed successfully. You can now log in to WordPress using the link provided and create your website.
Info: Note: Don't have a web hosting with Hostpoint yet? Discover our WordPress offers at https://www.hostpoint.ch/en/wordpress/.

Please use this form only to provide feedback on the above guide.
For support requests please use this form instead.
For support requests please use this form instead.

